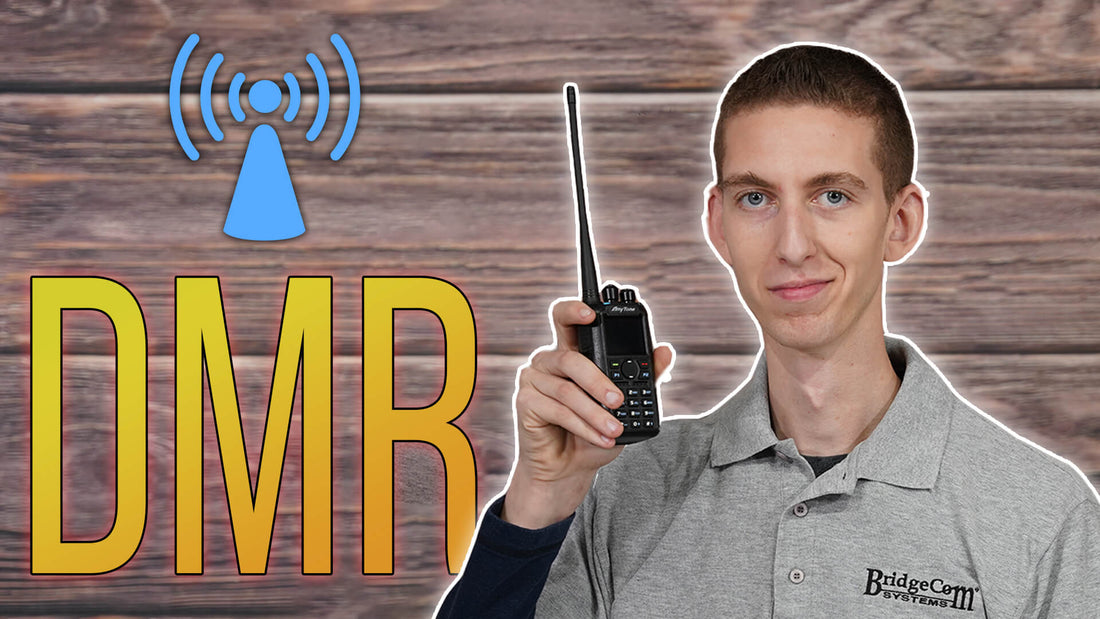
How to obtain your DMR ID from start to finish.

Excited to get into DMR world?
It's easier than you might think!
With a DMR ID, you can connect with ham radio operators across the globe, enjoy crystal-clear audio, and explore amazing features like text messaging and GPS tracking.
In this post, you'll learn how to obtain an official copy of your FCC Amateur License, apply for a DMR ID, and create a BrandMeister Network account.
Let's get started!
Step 1: Obtaining an Official Copy of your FCC Amateur License
1. Go to https://wireless2.fcc.gov/UlsEntry/licManager/login.jsp and log in with your FCC Registration Number (FRN) and password. After entering your password, proceed to the steps for Downloading Electronic Authorizations below.
2. Once you are logged in, click the "Download Electronic Authorizations" link on the navigation bar on the left side of the License Manager home page. There will be two options for finding the callsign for downloading:
• Search for the authorization(s) you want to download: Enter the call sign OR
• Enter a date range (based on Effective Date of the license)
• In the My Authorizations box at the bottom of the page, select the call signs you wish to download. Add the call sign(s) to the Authorizations to Download box by clicking the call sign(s) and clicking the Add button.
3. Once the licenses have been selected, click the Download button in the lower right-hand corner of the page. The download will be automatically converted to a PDF file, and you can choose to Open (to print) or Save (to save to a desired folder)
Step 2: Apply for a DMR ID from RadioID.net
1. You need the Official Copy of your Amateur License obtained from the FCC
2. Go to https://radioid.net/ and apply for a DMR ID
3. Once you get there, click on "Log In/Sign Up" at the left-hand side of the screen towards the bottom of the black options bar. From here you can create an account and work through all of the prompts. You will get to a point where it will ask you to upload an official copy of your FCC license.
4. Upload the copy we obtained from the FCC.
5. Now Wait. It may take up to 2 days for your account to be verified.
Step 3: Create your BrandMeister Network account
Once you have your DMR ID issued from RadioID.net it is time to create an account with BrandMeister.
1. Go to https://BrandMeister.Network/ and click on Register on the top left.
2. Follow the steps and create your account
3. Once you have created your account and logged in, click on SelfCare in the menu on the left.
4. Brand should be set to Motorola or ETSI.
*ETSI works better, Motorola allows for more features
5. Set your APRS Settings if you wish to utilize APRS
a. APRS Interval - This is how often the beacon transmits
b. APRS Callsign - This is your callsign and APRS SSID
c. APRS Text - The text that is transmitted with the APRS packets
d. APRS Icon - The icon to show on the http://APRS.fi/ map
6. Save.
7. If using a hotspot set a password in Hotspot Security (Optional)
8. Save Your Password
There you have it, now you're swiftly on your way to obtaining your DMR ID so you can hop on the digital bands!
For more information:
📞: 816-532-8451
📧: contactus@bridgecomsystems.com
Technical Support: https://support.bridgecomsystems.com/
Get an advanced tech call: https://www.bridgecomsystems.com/pages/advanced-tech-call
💬 Connect with us:
Website: BridgeCom Systems
Facebook: BridgeCom Systems, LLC
Instagram: BridgeCom Systems
Twitter: BridgeCom Systems
LinkedIn: BridgeCom Systems
🔗 You might want to see this!
Video 1: How to Get Started in DMR Radio
Video 2: How To Get A DMR ID for Amateur (Ham) Radio
👍 If you enjoyed this content, don't forget to like, share, and subscribe for more exciting updates!


